Object Mode vs. Edit Mode
Blender is a powerful 3D creation tool, and mastering its basic functionalities is the first step toward creating amazing 3D models. In this blog, we’ll explore the fundamental concepts of Object Mode, Edit Mode, and how to work with Vertices, Edges, Faces, and the Extrude tool. This guide is designed for beginners and explained in simple Hindi.
Object Mode vs. Edit Mode
In Blender, the workspace is divided into different modes. Two of the most commonly used are:
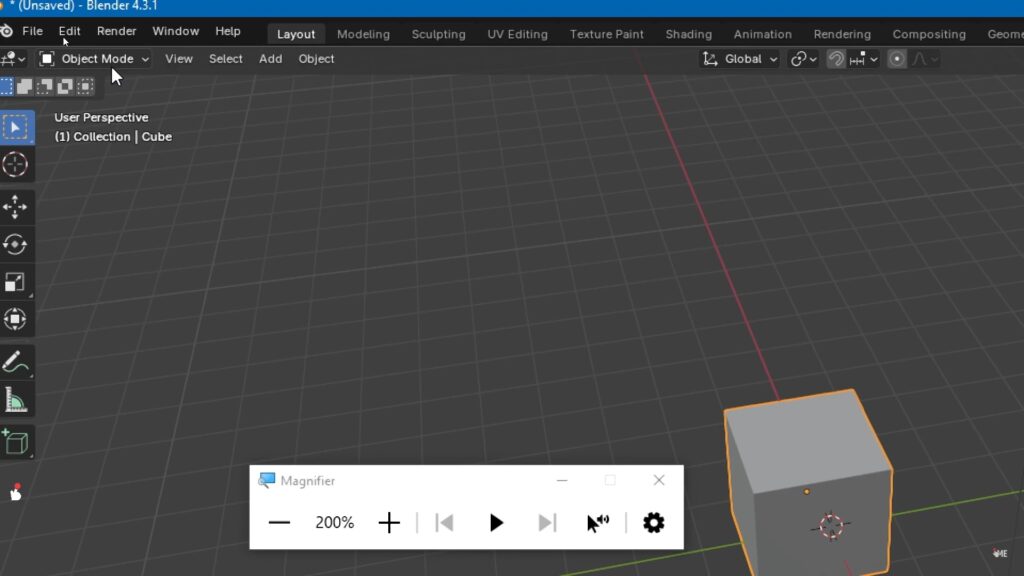
Object Mode:
Object Mode is used to manage and manipulate entire objects.
You can move, rotate, scale, duplicate, or delete objects.
To switch to Object Mode, press Tab or select it from the top-left menu.
Edit Mode:
Edit Mode is where you can edit the geometry of an object.
You can work on individual components like vertices, edges, and faces.
To enter Edit Mode, press Tab when an object is selected.
Vertices, Edges, and Faces
Every 3D model in Blender is made up of these three basic components:
Vertices (Chhoti Bindu):
Points in 3D space that define the shape of an object.
Shortcut to select vertices: 1 on the keyboard (in Edit Mode).
Edges (Rekha):
Lines that connect two vertices.
Shortcut to select edges: 2 on the keyboard.
Faces (Satṣay):
Flat surfaces created by connecting three or more edges.
Shortcut to select faces: 3 on the keyboard.
Extrude Tool (Naya Aakar Banayein)
The Extrude tool is one of the most powerful tools in Blender. It helps you extend a part of your model to create new geometry.
How to Use Extrude:
Select a face, edge, or vertex in Edit Mode.
Press E to activate the Extrude tool.
Move your mouse to extend the geometry and left-click to confirm.
Example:
Select a cube.
Enter Edit Mode and select a face.
Press E and drag to create a new extended shape.
Agar aapko 3d chair kaise banane ka hai dekhana hai to aap is link par click kar sakte
Blender Tips for Beginners
Shortcut Keys:
Always remember Blender’s shortcuts. For example:
Tab: Toggle between Object and Edit Modes.
G: Move geometry.
R: Rotate geometry.
S: Scale geometry.
Selection Modes:
Use 1, 2, and 3 keys to switch between Vertex, Edge, and Face selection modes.
Undo:
Press Ctrl+Z to undo any action.
Agar aap hamare YouTube channel ko visit karna chahte ho to aap is link par click kar sakte
Practice Assignment
Open Blender and add a cube to the scene.
Switch to Edit Mode and select a face.
Use the Extrude tool to create a simple shape like a chair leg or a staircase.
Practicing these basic tools will help you build confidence and prepare you for more complex 3D modeling tasks.
Blender ka use karte hue aap apni imagination ko 3D mein laa sakte hain. Object Mode aur Edit Mode ke beech switch karna, aur Vertices, Edges, Faces ko samajhna ek beginner ke liye bohot zaroori hai. Aage ki tutorials ke liye bane rahiye aur naye tools explore karte rahiye.
Aapke comments aur feedback ka hamesha swagat hai! Agar aapko yeh blog pasand aaya, toh zarur share karein aur practice karna na bhoolen.